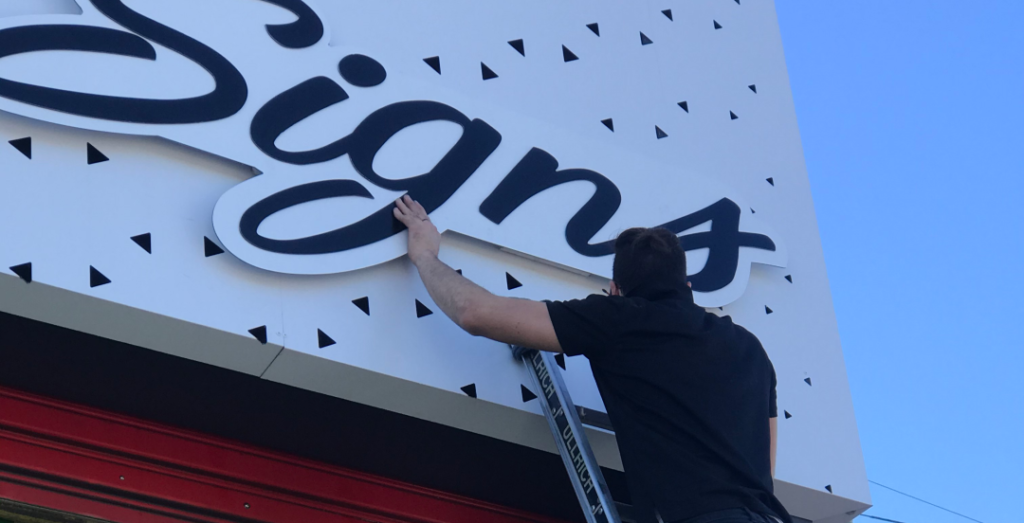
Are you wondering how to get your signage installed and whether you could do it yourself? The answer will depend on the type of signage and where it is being installed.
If you want to learn how to self-install any signage you will find plenty of videos on YouTube. There you will find videos that have been posted by sign companies around the world. Just search for installation of whichever type of sign you require.
Another option is outsourcing; you can always get a handyman or sign installer to help. If you want to try a bit of DIY, just check out our examples below!
Vinyl Banners: These are generally the easiest to install. Simply install by tying with ropes or by using cable ties through the eyelets to attach the banner to your chosen spot.
Aluminium Composite Panel Signs: The 3mm thick aluminium panel can be easily drilled through so it is possible for a general handyman to install them onto building walls. You should always seek advice on the correct type and number of fixings to use.
Signflute Signs: This is a very light product and can generally be attached to walls using adhesive fixing products. It can also be attached to timber posts using wide head nails or screws. If it is being attached to a wire mesh fence you can specify eyelets to be included and then attach it using cable ties. It can also be used in A frames and supported using metal ground spikes and Signholders.
Foam PVC and Acrylic Signs: These are mainly used for internal signage and attached to smooth painted walls using double sided tape or adhesive fixing products.
Acrylic Reception Signs: These are supplied with drilled holes and stainless steel mounts to attach them to walls. A home handyman should be able to install these signs after seeking advice on the correct type of fixing to use.
Wall Murals: This is designed for self installation and is one of the most forgiving adhesive vinyl products.
Floor Graphics: Simply remove the backing paper and apply it to the clean, dry, smooth surface. The material should be applied with a squeegee. Starting from the centre, work outwards to ensure there are no bubbles and that all edges are firmly adhered to the surface. We recommend that the Floor Graphics are professionally installed to ensure they are correctly adhered to the surface and to avoid any possibility of it being a trip hazard.
Other adhesive vinyl signage products can be a bit trickier to install – but you might be comfortable doing them yourself after watching the instructional videos on YouTube. For all adhesive vinyl products it is essential to make sure your surface is clean and to be careful that you do not allow the vinyl to stick together. These products include:
Window Graphics: It would be helpful to have a second person to hold the vinyl while you apply it (and make sure it doesn’t stick together).
One Way Window Film: The holes in the film allow air to escape and make it one of the easier vinyls to self-install. If the One Way Window Film has been laminated it might be best to get an experienced installer to do the job – as it should be applied dry.
Custom Stickers: It would be helpful to have a 2nd person to hold the vinyl while you apply it (and make sure it does not stick together).
Not comfortable installing it yourself but don’t want to pay a fortune to get it done? We suggest that you look for a handyman or installer on ‘www.airtasker.com’ as a very cost-effective way to install your signage.
Whether you choose to install your Seymour Signs signage yourself or arrange for our team to install it – you can be confident that your finished product will look great!
Get in touch to get a quote.

